
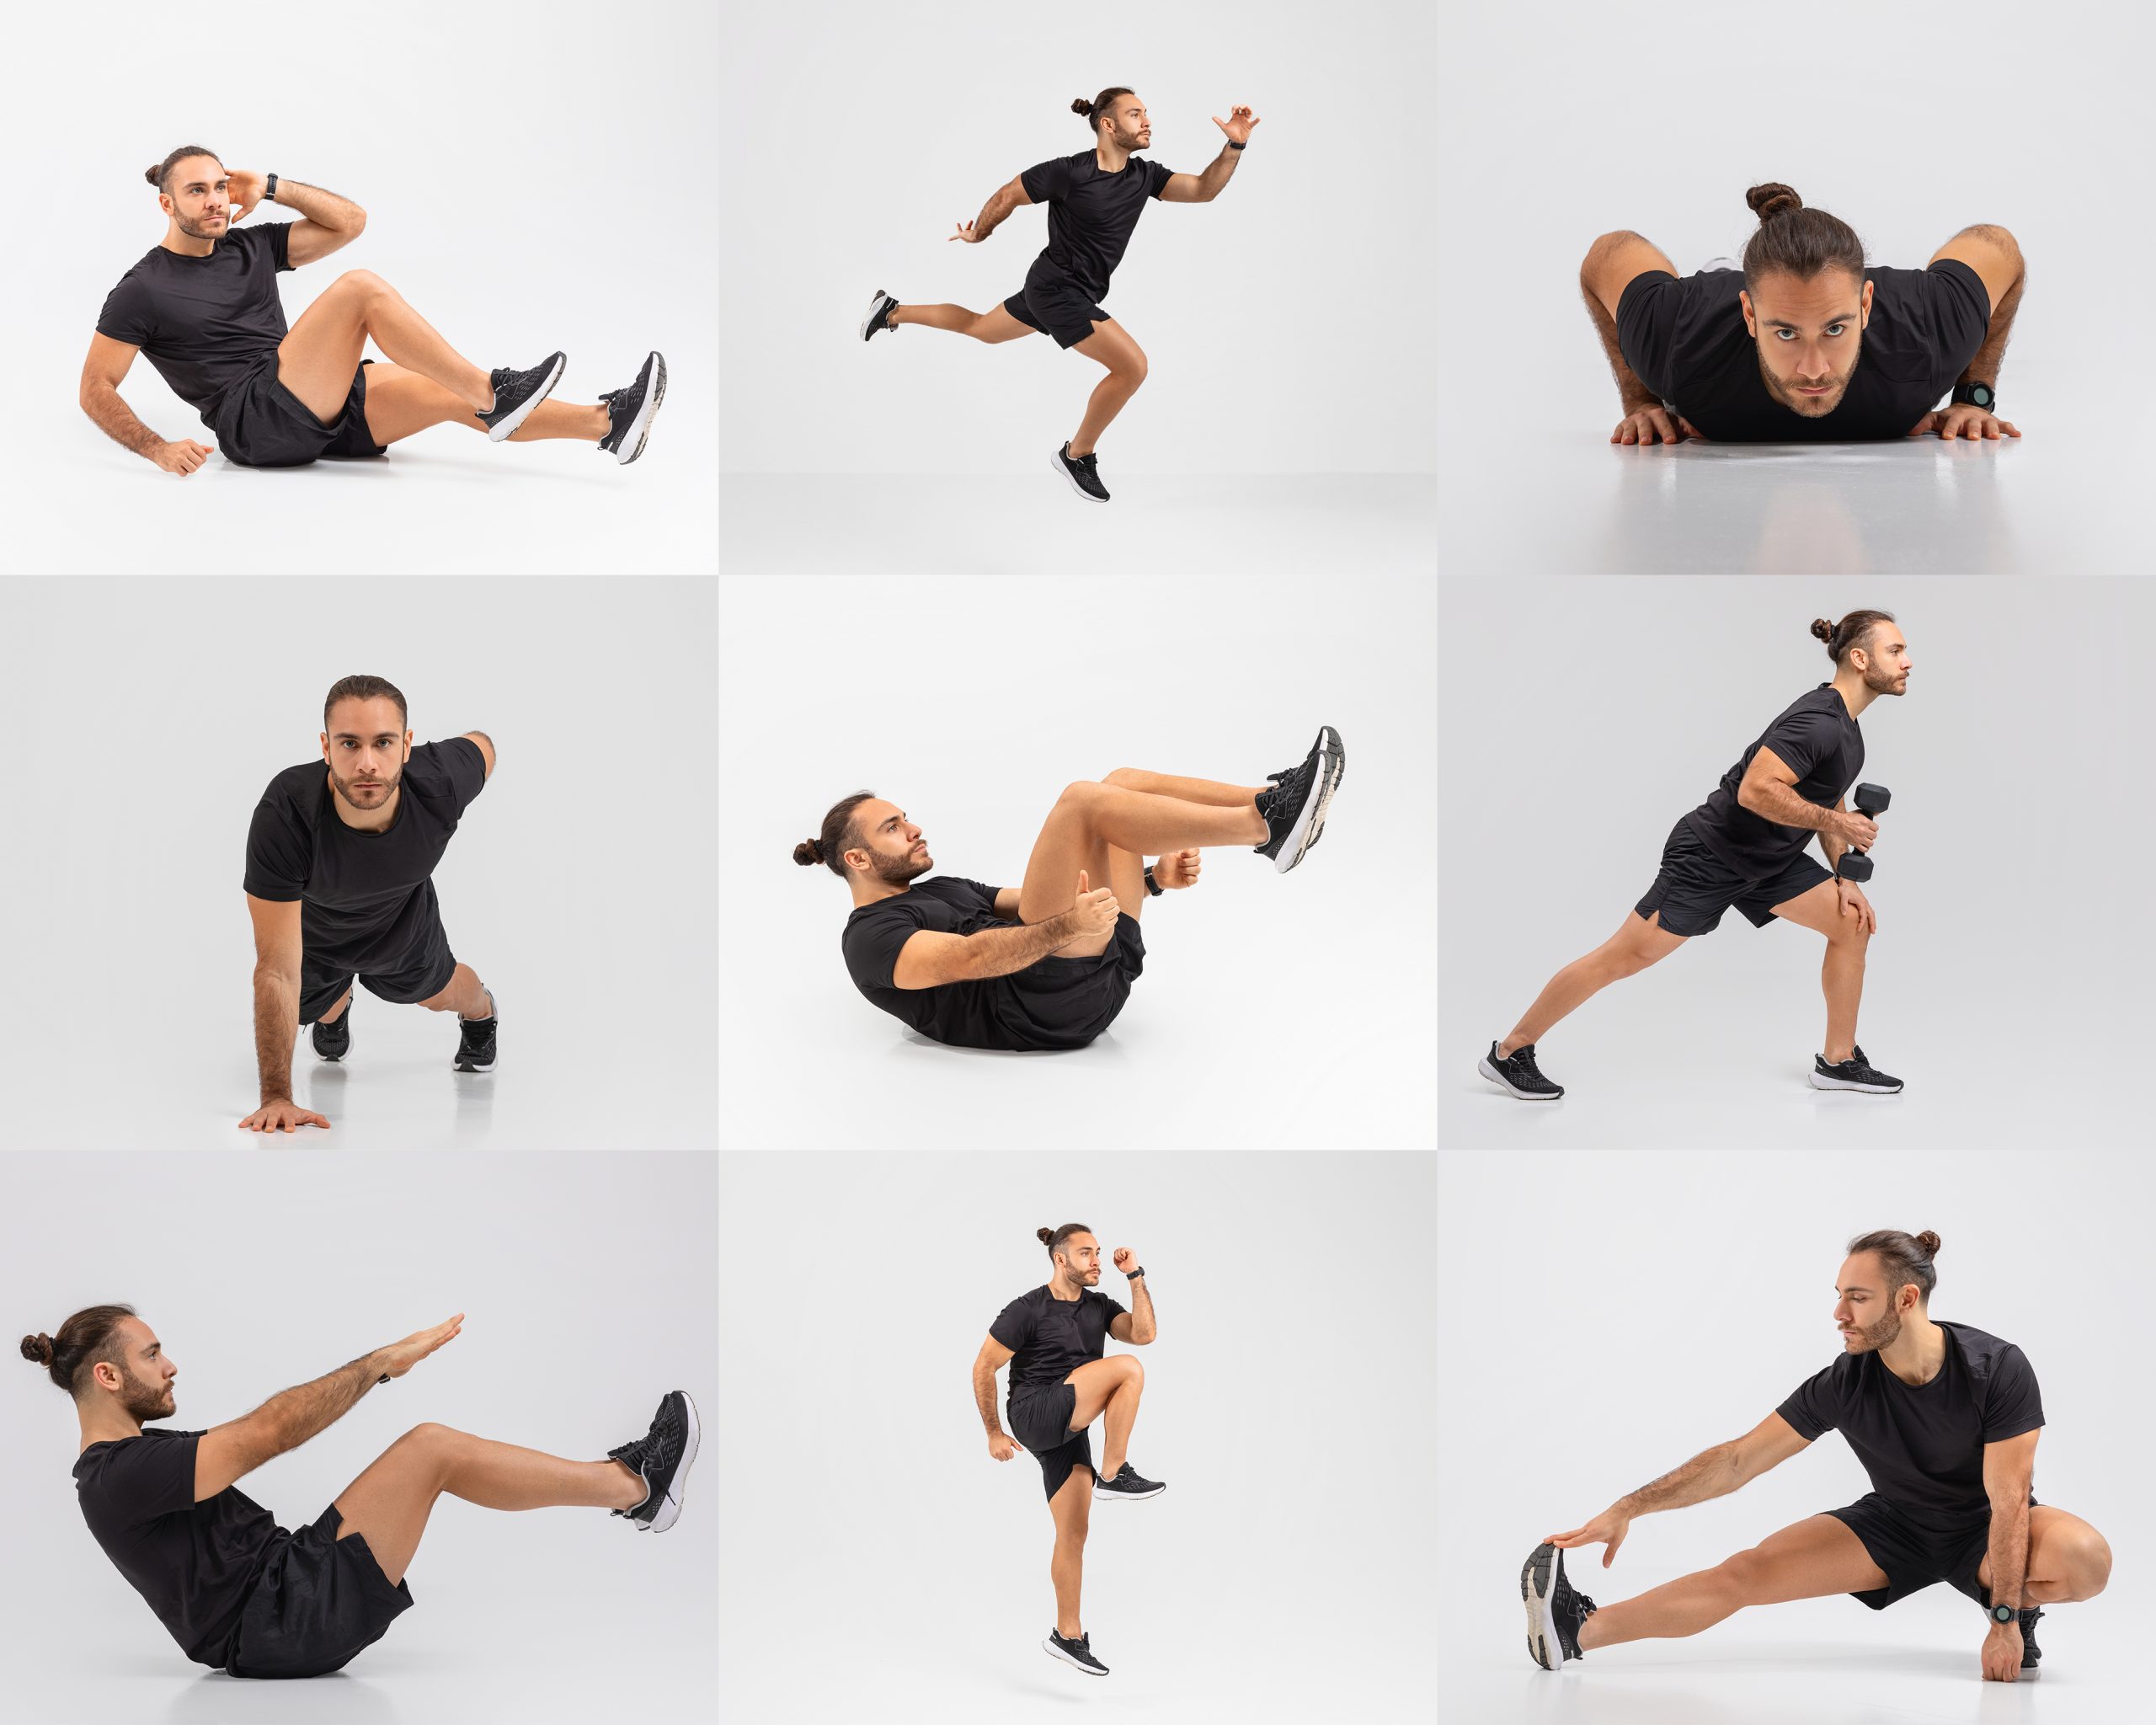
Beginner Full Body Workout at Home (No Gym Needed)
Nobody tells you this when you’re starting out: the hardest part of a beginner workout isn’t the workout itself. It’s the ten minutes before you start, when your brain is busy negotiating.
“I don’t have equipment.” “I don’t have space.” “I don’t know what I’m doing.” “I’ll start Monday.”
I’ve had every one of those conversations with myself. And I’ve learned that most of them are just excuses dressed up as logistics. You don’t need a gym membership, a rack of dumbbells, or 400 square feet of open floor space to get a genuinely good full body workout. You need a mat, a body, and a plan that doesn’t overwhelm you on day one.
This article is that plan.
Before Anything Else — What “Full Body” Actually Means
A lot of beginners think full body means doing every exercise imaginable in one session. It doesn’t.
Full body just means you’re hitting the major muscle groups in a single workout — legs, back, chest, shoulders, core — rather than splitting them into separate days. For beginners, this is actually the smarter approach. Here’s why:
When you’re new to exercise, your nervous system hasn’t learned how to properly recruit your muscles yet. Every time you train, you’re teaching your body new movement patterns. Doing full body sessions three times a week means you practice those patterns three times a week — which accelerates progress far more than doing chest on Monday and legs on Thursday.
Also, if you miss a session (and you will sometimes), you haven’t completely skipped a muscle group for the whole week.
What You Actually Need
Let’s settle this immediately:
Required:
- A yoga mat or any soft surface (even a folded blanket works)
- Yourself
Optional but helpful:
- A resistance band (light to medium — around $8–15 on Amazon or any sports shop)
- A pair of light dumbbells (3–5 kg for most beginners — again, not expensive)
- A sturdy chair
That’s it. No pull-up bar. No bench. No cables. Every exercise in this program can be done with bodyweight alone. The optional equipment just adds variety and progression once bodyweight starts feeling too easy.
The Workout Structure
This is a three-day-per-week program. You do it Monday, Wednesday, Friday — or any three days with at least one rest day between sessions. That gap is important; it’s when your muscles actually grow and repair.
Each session follows this format:
- Warm-up — 5 minutes
- Main workout — 25–30 minutes
- Cool-down stretch — 5 minutes
Total time: around 40 minutes. If someone tells you they don’t have 40 minutes, they have 40 minutes — they’re just spending it somewhere else. That’s not a judgment, just a reframe.
The Warm-Up (5 Minutes — Don’t Skip This)
Warming up feels like a waste of time until you pull something and have to sit out for two weeks. Then you understand.
The goal is to raise your heart rate gently, loosen your joints, and get blood moving to the muscles you’re about to use. You’re not trying to get tired before the workout even starts.
Do each of these for 45 seconds:
1. March in Place Pick your knees up to about hip height, swing your arms naturally. Nothing dramatic — just get moving. This is also your out: if you truly can’t do anything else, you can always just march in place for a while.
2. Arm Circles Extend both arms to the sides, make slow circles forward for 20 seconds, then reverse for 20 seconds. Small to large. Your shoulders will thank you later.
3. Hip Circles Feet shoulder-width apart, hands on hips, draw big slow circles with your hips like you’re hula-hooping in slow motion. Ten clockwise, ten counter-clockwise. This wakes up the hip joints which take a beating in a lot of lower body exercises.
4. Leg Swings Stand next to a wall for balance. Swing one leg forward and back like a pendulum — controlled, not wild. 15 swings per leg. Great for opening up the hamstrings and hip flexors.
5. Inchworms Stand tall, hinge forward and walk your hands out until you’re in a push-up position, pause for a second, then walk your hands back and stand up. Repeat slowly for 45 seconds. This one does a lot — hamstrings, lower back, shoulders, wrists. If it feels hard right away, that’s fine. Modify by bending your knees slightly.
The Main Workout
This is a circuit-style program. You’ll do all the exercises back to back, rest for 60–90 seconds, then repeat the circuit. Two to three rounds per session.
Week 1–2: 2 rounds, rest 90 seconds between rounds Week 3–4: 3 rounds, rest 60–90 seconds between rounds
For each exercise, the rep range is given. If you can do more than the top end easily, make a note — that’s your cue to progress. If you can’t hit the bottom end, that’s also fine — do what you can and add one or two reps each week.
Exercise 1: Bodyweight Squat
Reps: 12–15
Feet shoulder-width apart or slightly wider. Toes pointed slightly out — not straight ahead, not dramatically turned out, just a natural angle. Lower yourself like you’re sitting back onto a chair that’s slightly behind you. Go as low as you comfortably can — ideally until your thighs are roughly parallel to the floor, but if that’s not there yet, go to where you can without pain.
Drive through your heels to stand back up. That “drive through the heels” cue matters — it keeps your weight back and your knees tracking over your toes properly.
Common mistake beginners make: Letting the knees cave inward on the way up. If this is happening, think about pushing your knees out slightly as you rise.
Exercise 2: Push-Up (or Knee Push-Up)
Reps: 8–12
This one has a reputation for being straightforward, but form issues are extremely common.
Start in a plank position — hands slightly wider than shoulder-width, body in a straight line from head to heels. Lower your chest toward the floor, elbows at roughly a 45-degree angle from your torso (not flared straight out to the sides). Press back up.
If that’s too hard right now (and there’s zero shame in this — a proper push-up requires significant chest, shoulder, and core strength), drop to your knees. Knee push-ups are a legitimate exercise and a solid stepping stone. Do them properly — body still in a straight line from knees to head, core tight, not letting your hips sag down.
The goal over the coming weeks is to gradually move toward full push-ups. Start with, say, four knee push-ups and try one full push-up. Week by week, flip that ratio.
Exercise 3: Glute Bridge
Reps: 12–15
Lie on your back. Knees bent, feet flat on the floor, hip-width apart. Arms at your sides, palms down.
Squeeze your glutes and press your hips up toward the ceiling until your body forms a straight line from your shoulders to your knees. Hold for a second at the top — really squeeze. Lower slowly.
This exercise targets the glutes and hamstrings, which are chronically underused in people who sit a lot. It also helps with lower back health, which is a bonus for desk workers.
To make it harder: Hold the top position for 3 seconds. Or do it single-leg — extend one leg out straight and bridge with just one foot on the floor. That changes the game entirely.
Exercise 4: Reverse Lunge
Reps: 10 per leg
Stand tall, feet together. Step one foot back and lower your back knee toward the floor. Your front knee stays roughly over your front ankle — not dramatically pushed forward past your toes. Lower until your back knee is an inch or two from the floor, then push through your front foot to return to standing.
Reverse lunges (stepping back rather than forward) are gentler on the knees than forward lunges and easier to control for beginners. They’re a great entry point.
Keep your chest upright. A lot of beginners hunch forward — resist that urge. If you need to hold onto a wall for balance at first, do it.
Exercise 5: Plank Hold
Time: 20–30 seconds
Forearms on the floor, elbows under shoulders. Body in a straight line — shoulders, hips, knees, ankles all aligned. Don’t let your hips sag down or pike up.
Breathe. This is the part people forget — they hold their breath trying to hold the position and end up shaking unnecessarily. Steady breathing through the hold.
20 seconds is the target in week one. Add five seconds each week. By week four, you should be working toward a 45-second hold, and by week eight, a full minute becomes realistic for most people.
If the plank is too hard: Knee plank — same position but on your knees instead of your feet. The important thing is that your hips don’t drop.
Exercise 6: Superman Hold
Reps: 10–12
Lie face down, arms extended in front of you. Simultaneously lift your arms, chest, and legs off the floor — hold for a count of two, then lower slowly.
This is for the posterior chain — the muscles along the back of your body (lower back, glutes, upper back) that get neglected in a lot of beginner programs that focus only on the “mirror muscles.” Strengthening your posterior chain improves posture, reduces back pain, and makes every other exercise safer.
It looks easy. It isn’t. If you feel it immediately in your lower back, that’s exactly right.
Exercise 7: Standing Oblique Crunch
Reps: 12 per side
Stand with feet hip-width apart. Put one hand behind your head (elbow out to the side), other hand resting on your hip. Crunch sideways — bringing your elbow down toward your hip as you lift that same-side knee up to meet it. Controlled movement. Back to start.
This targets the obliques (side abs) and gets your hip flexors working — all without putting strain on your neck the way traditional floor crunches can.
Do all 12 on one side, then switch.
Rest and Repeat
After completing all seven exercises, that’s one round. Rest for 60–90 seconds — walk around a little, catch your breath, sip some water. Then begin the circuit again.
Two rounds for the first two weeks. Three rounds from week three onward.
The Cool-Down (5 Minutes — Also Not Optional)
Stopping abruptly after a workout isn’t great for your heart rate or your muscles. Cooling down helps bring your heart rate down gradually and stretches the muscles while they’re warm and pliable — which is actually when stretching does the most good.
Hold each stretch for 20–30 seconds per side:
Child’s Pose — Kneel, sit your hips back toward your heels, stretch your arms forward. This decompresses the lower back beautifully.
Hip Flexor Stretch — From a kneeling lunge position, push your hips forward gently until you feel a stretch in the front of the back leg’s hip. Great after lunges and squats.
Hamstring Stretch — Sit on the floor, one leg extended, other foot tucked in. Hinge forward from the hips toward the extended leg — not a dramatic reach, just enough to feel the stretch along the back of the thigh.
Cat-Cow — On hands and knees, alternate between arching your back up (cat) and dropping your belly down (cow). Move slowly. This is the best thing you can do for spinal mobility.
Chest Opener — Clasp your hands behind your back, straighten your arms, and gently lift them while opening your chest upward. Counteracts the forward-hunching position most of us live in.
The 4-Week Progression Plan
Here’s what the first month looks like written out plainly:
| Week | Rounds | Rest Between Rounds | Notes |
| 1 | 2 | 90 seconds | Focus on form, not speed |
| 2 | 2 | 90 seconds | Try to add 1–2 reps on each exercise |
| 3 | 3 | 75 seconds | Attempt full push-ups if on knees |
| 4 | 3 | 60 seconds | Increase plank hold time |
After four weeks, reassess. If this circuit is starting to feel comfortable — like you’re finishing with energy to spare — it’s time to add resistance (a band or light dumbbells) or move to a slightly more advanced program.
Progress should feel like work. If it stops feeling like work, make it harder. That’s not a complicated rule, but it’s the one that keeps results coming.
What to Eat Around This Workout
You don’t need to overhaul your entire diet to benefit from this program — that’s too much change at once for most people.
A few practical basics:
Before the workout (30–60 minutes prior): Something light with carbs if you’re working out in the morning. A banana, a piece of toast, or even a date or two. If you’re training in the afternoon or evening and you’ve eaten a normal meal a couple of hours before, you probably don’t need anything extra.
After the workout: This is when your muscles are primed to absorb protein. A simple option: eggs, Greek yogurt, a protein shake (a basic whey or plant-based protein — nothing fancy), or dal and roti if that’s what you have. You don’t need $50 protein powders. You need adequate protein from whatever real food you normally eat.
Hydration: Drink water before, during, and after. Dehydration makes workouts feel harder than they need to be and slows recovery.
Common Beginner Mistakes (From Someone Who Made All of Them)
Going too hard too fast. Week one is not the time to push until you can’t walk the next day. DOMS (delayed onset muscle soreness) that leaves you unable to sit down properly is not a badge of honour — it’s a sign you overdid it and now you’re going to miss your next session.
Skipping the warm-up. Already covered this, but worth repeating. Cold muscles and sudden exertion is how strains happen.
Inconsistent breathing. Hold your breath during a squat and you spike your blood pressure unnecessarily. Exhale on the effort (the hardest part of the movement), inhale on the easier part.
Comparing to people online. The fitness content you see on social media is almost entirely people who have been training for years doing things they spent years building up to. Your week-one is not their week-one. You’re not behind. You’re just at the beginning.
Changing the program every week. This is a big one. Beginners often get bored and start mixing in exercises they saw on YouTube, swapping things out, restructuring everything. Stick to one program for at least four to six weeks. Progress happens through consistency and progression — not variety.
Tracking Your Progress (Simply)
You don’t need an elaborate spreadsheet. A note in your phone works fine.
After each session, write down:
- Which round number you completed
- How many reps you managed for each exercise
- Anything you noticed (e.g., “push-ups felt easier,” “left knee uncomfortable during lunges”)
That’s it. Over four weeks, this becomes a valuable record. You’ll see the progress clearly — and on the days it feels like nothing is changing, looking back at week one numbers is a quick reminder that it is.
A Word on Rest Days
On your off days — Tuesday, Thursday, Saturday, Sunday — you’re not supposed to do nothing. You’re supposed to recover.
Light movement is ideal on rest days: a 20–30 minute walk, some gentle stretching, a beginner yoga video (Yoga with Adriene on YouTube has great short sessions for exactly this). This keeps blood flowing to your muscles, reduces soreness, and doesn’t stress the body the way a workout would.
Two full consecutive rest days (like Saturday and Sunday) are fine once a week. More than two days off in a row, and you start to lose the rhythm — both physically and mentally.
Moving Forward After the First Month
After four weeks of this program done consistently, you’ll be in a noticeably different place than when you started. Not visually dramatic, necessarily — but stronger, more coordinated, and (this is the part people underestimate) just more comfortable in your own body.
From here, your options are wide open:
- Add resistance bands or dumbbells to this same circuit and run it for another four weeks
- Move to a split program (upper/lower body alternating days) if you want to train four days a week
- Try a structured app program like Nike Training Club’s beginner tracks or the Bodyweight Fitness recommended routine from r/bodyweightfitness
The main thing is not to stop once the first program gets easy. That’s exactly when the real results are starting to compound.
The honest truth is that this workout is simple. That’s intentional. Simple is what gets done. Simple is what gets repeated. And repeated is the only thing that actually works.
You don’t need to find something complicated to believe it’ll be effective. You just need to show up three times a week, do the work, and give it long enough to matter.
Week one, that feels like a lot to ask. By week four, it’s just part of your week.